Table of Contents
- 1. What Is the Powder Coating Process?
- 2. How Do You Prepare a Surface for Powder Coating?
- 3. How Is Powder Applied in the Coating Process?
- 4. What Happens During the Curing Stage in Powder Coating?
- 5. How Is Quality Checked After Powder Coating?
- 6. What Does the Powder Coating Process Look Like Visually?
- 7. How Does the Powder Coating Process Change by Material Type?
What Is the Powder Coating Process?
Powder coating works by applying dry powder to a prepared surface, then heating it to form a strong, durable finish. The process involves several precise stages:
- Surface preparation removes grease, rust, or dirt to improve coating adhesion.
- Methods: chemical wash, media blasting, or degreasing
- Purpose: create a clean, reactive surface for bonding
- Powder coating application uses a powder coating gun for even coverage.
- Uses electrostatic spray deposition (ESD) to charge powder particles
- Charged powder adheres to grounded metal parts
- Film thickness is controlled during this step for consistent coverage
- Curing solidifies the coating in a curing oven at 160-200°C.
- The powder melts and chemically reacts, forming a hard layer
- Often called baking powder coating, this step ensures long-term durability
These powder coating steps produce a uniform, chip-resistant surface that lasts. Next, you’ll see how surface preparation methods affect this outcome.
How Do You Prepare a Surface for Powder Coating?
Surface preparation is the first and most critical step in the powder coating process. Each step supports strong coating adhesion and consistent film thickness. If the surface is not cleaned and textured properly, the powder coating application will fail, no matter how good the equipment or materials are.
- Degrease and Clean: I remove oil, dust and dirt using a degreaser, then rinse the surface with clean water to avoid residue.
- Phosphate Rinse: I apply an iron phosphate rinse to improve corrosion resistance and help the coating bond tightly.
- Mechanical Abrasion: For tougher materials, I use sandblasting or shot peening to roughen the surface and clean off rust or paint.
- Avoid Bare-Hand Contact: After prep, I always wear gloves to prevent fingerprints that can affect powder coating adhesion.
These powder coating steps make sure the surface grips the powder well during electrostatic spray deposition (ESD) and cures evenly in the curing oven.
How Is Powder Applied in the Coating Process?
Powder coating application begins after surface preparation is complete. I use an electrostatic spray deposition (ESD) method to apply the powder. This step plays a big role in controlling film thickness and ensuring proper coating adhesion.
- Corona guns use high voltage to charge the powder particles negatively as they pass through the nozzle. These particles are attracted to a grounded metal part and stick to its surface.
- Tribo guns work differently. The powder picks up a positive charge through friction as it travels inside the gun. This method is ideal for detailed or recessed parts.
- The powder coating gun creates a cloud of powder. The electrostatic force pulls the powder to the part and holds it there until it’s moved into the curing oven.
This forms a consistent layer before baking powder coating into a durable finish.

Powder Application Process
What Happens During the Curing Stage in Powder Coating?
I place the coated part into a curing oven, where heat activates the final step in the powder coating process. This stage transforms the powder into a durable surface through melting, flow, and cross-linking.
- Thermoset powders cure by forming chemical bonds at 160-200°C. This process makes the coating permanent and heat-resistant.
- Thermoplastic powders melt and flow but don’t chemically react. They can soften again if reheated.
- A correct cure schedule balances time and temperature. I monitor both to prevent under- or over-curing.
- During baking, the powder flows into a film. At this point, coating adhesion locks in, ensuring resistance to chipping and corrosion.
The outcome is a uniform, solid layer with stable film thickness and high durability. After this, the part cools and is ready for inspection or use.
How Is Quality Checked After Powder Coating?
After the powder coating process, I carry out a mix of visual and physical tests. These checks confirm whether each powder coating application meets quality standards. The goal is to ensure correct film thickness, strong coating adhesion, and proper cure after time in the curing oven.
Here’s how to check each stage:
Test Type | Purpose | Tool or Method | Acceptable Outcome |
Visual Check | Detects colour mismatch, orange peel, or pinholes | Eye inspection under consistent light | Even colour, smooth finish |
Film Thickness | Confirms dry film thickness (DFT) is within range | DFT Gauge (magnetic or digital) | 60-120 microns on average |
Adhesion (Crosshatch) | Assess the coating bond to the substrate | Blade cutter + pressure-sensitive tape | No peeling from the scored grid |
Solvent Rub Test | Verifies full cure of the powder after baking | Cotton swab with MEK or acetone | Minor discolouration, no film removal |
Impact/Bend Test | Checks flexibility and durability under stress | Impact tester or conical mandrel | No cracking or flaking |
These powder coating steps validate how powder coating works from surface preparation to baking powder coating in the oven. Using the powder coating gun properly during electrostatic spray deposition (ESD) helps form a strong, lasting layer that passes all tests.
What Does the Powder Coating Process Look Like Visually?
The powder coating process has three key stages: surface preparation, powder application, and curing. Each step plays a vital role in how powder coating works and how a tough, long-lasting finish forms.
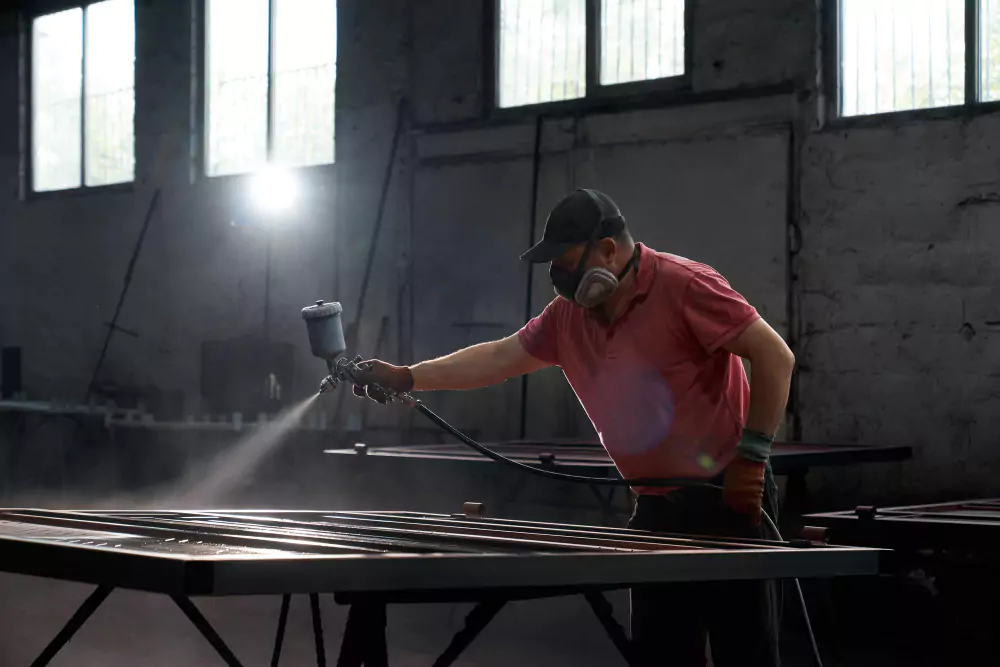
First, I clean and prepare the metal surface to improve coating adhesion. Oils, dirt, and rust are removed through chemical cleaning or blasting. Next, I use a powder coating gun to spray charged particles during electrostatic spray deposition (ESD). These particles stick to the surface evenly due to static electricity.
Finally, I place the coated part into a curing oven. High heat melts and fuses the powder, forming a consistent dry film thickness. This hardens the layer, locking in durability and resistance. Below is a simple graphic showing each stage of the powder coating steps:
Visual Guide: The 3 Core Stages of Powder Coating
Stage | Description | Visual Element |
1. Surface Prep | Cleaning, degreasing, and blasting for proper adhesion | Brushed and clean metal surface |
2. Powder Application | Powder sprayed using ESD from a powder coating gun | Gun spraying powder onto the part |
3. Curing | Part baked in an oven to solidify the film thickness and complete the bond | Coated part inside a curing oven |
These powder coating steps give the final part its strength, colour, and smooth finish
The Powder Coating Process Visual Looks
How Does the Powder Coating Process Change by Material Type?
The powder coating process adapts to material type by changing surface preparation, powder application, and curing methods. I use different tools, powders, and temperatures depending on how each material behaves.
- Metal (e.g., steel, aluminium):
- I use abrasive blasting or phosphate pretreatment to ensure coating adhesion.
- I apply the powder using electrostatic spray deposition (ESD) with a powder coating gun.
- I cure metal at high heat in a curing oven, reaching 160-200°C, to fuse the powder completely.
- Plastic:
- I adjust heat levels carefully to avoid melting or warping the substrate.
- I often use low-bake thermoplastic powders with lower curing thresholds.
- Some coatings rely on UV-curing, avoiding high temperatures altogether.
- MDF (wood):
- I remove all moisture and preheat slightly to aid bonding.
- I apply specially formulated powders with controlled film thickness.
- I cure the coating at 120-130°C to avoid burning the fibreboard.
Each material type requires different powder coating steps, especially during baking powder coating and controlling film thickness.